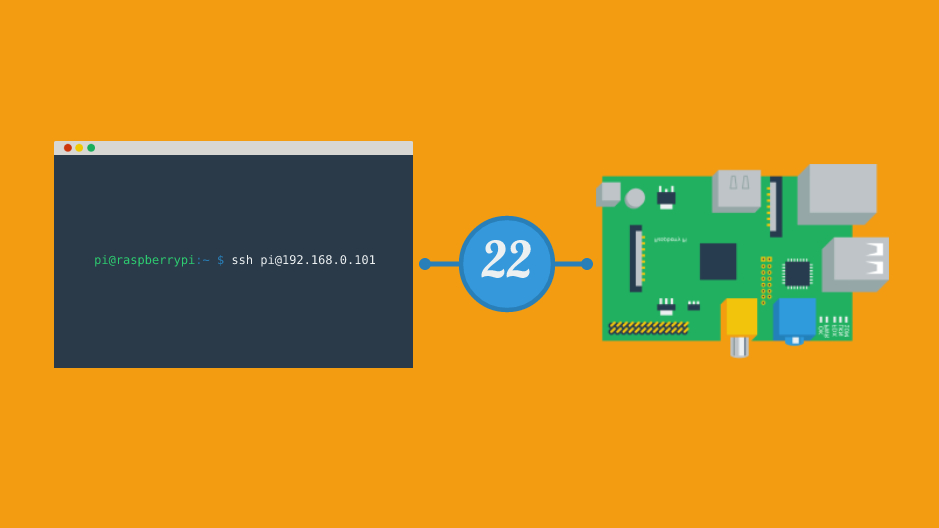
How to activate SSH on the Raspberry Pi.
The easiest way to control a Raspberry Pi remotely is to use SSH. But it still has to be activated, which is no longer the case by default since 2016 and a massive attack on connected objects.
In this tutorial we will see how we can activate SSH on the Raspberry Pi, with or without a keyboard!
The hardware to enable SSH
To activate SSH we will only need a little hardware. Two solutions are possible.
First solution, activate SSH from the Raspberry Pi, in this case you will need a screen and a keyboard.
Second solution, activate SSH from your computer by modifying a file on the SD card. In this case, you will need your PC and an SD card reader.
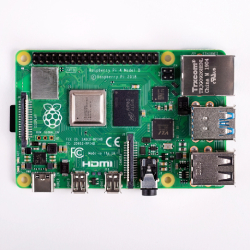
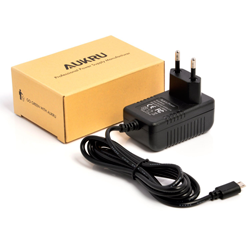
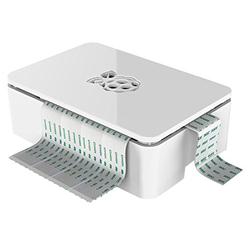
In any case, we will need a Raspberry Pi (any model), its power supply, and an SD card with Raspbian installed.
Activate SSH from the Raspberry Pi with raspi-config.
First solution to activate SSH, your Raspberry Pi has a screen and a keyboard. In this case, we will directly use the command line tool raspi-config.
Open a terminal, and type the following command there:
sudo raspi-configYou will come to a window looking like this.
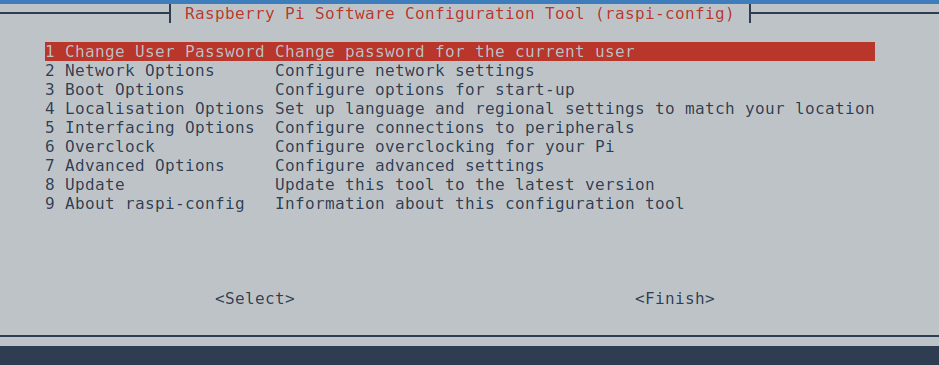
If you haven't done so, I advise you to start by changing the default password (first line, "Change user password") of the Raspberry Pi since it will now be accessible in SSH.
Then, once the password has been changed, go to the "Interfacing Options" section and choose the SSH line, then "Yes".
There you go, your SSH server is activated!
Activate SSH without screen or keyboard, from your PC.
Second solution to activate SSH, you do not have a keyboard or screen connected to your Raspberry Pi and you want to manage it entirely remotely.
Don't panic, the Raspberry Pi foundation has provided a solution, we will just have to create a file on the Raspberry's SD card, and it will automatically activate SSH on the next startup.
Insert the SD card of your Pi into your PC, and go to the partition boot, which is also the only one accessible from Windows.
This done, create a file named ssh in the score boot from the menu. No extension, no content, just an empty file named ssh.
Remove the card from the PC, put it back in the Pi, turn it on, and voila, SSH is activated!
Conclusion
Activating SSH on the Raspberry Pi is ultimately not very complicated.
You will still need to connect the Raspberry Pi to your box, either via Wi-Fi or via Ethernet.
Note, however, that we have only seen how to enable SSH. To learn how to use it, see our tutorial on how to connect to the Raspberry in SSH.
Finally, be aware that you can only connect via SSH from your local network. If you want to connect from anywhere, you will need to make your Raspberry Pi accessible on the internet.